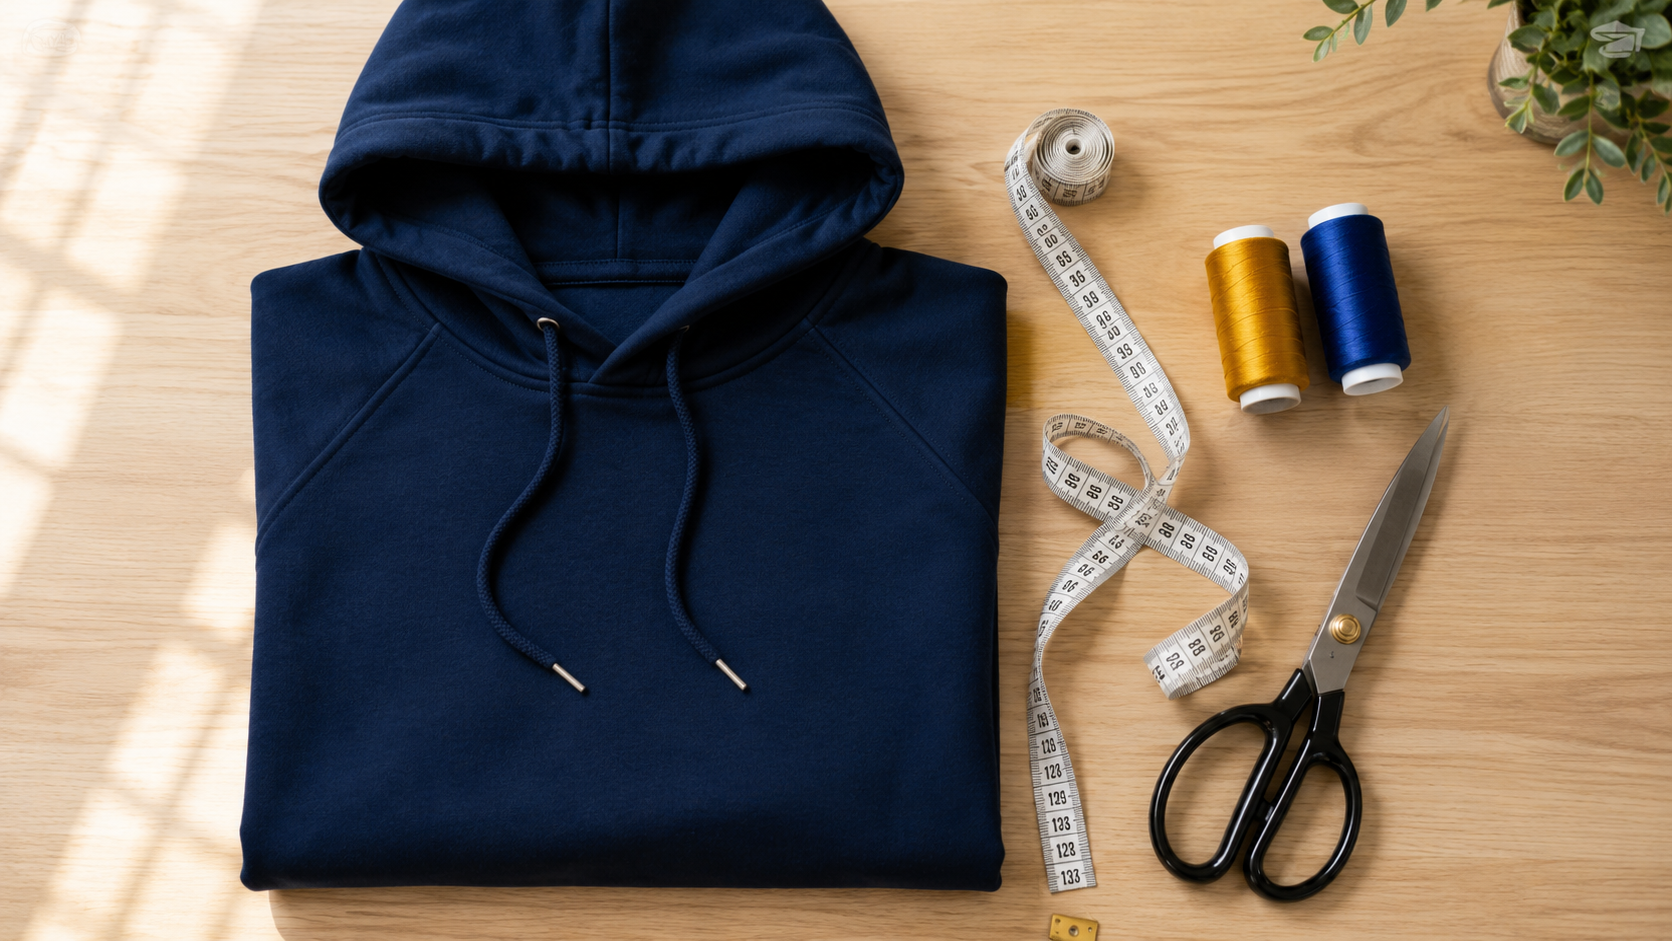
How to Make a Hoodie: A Complete Guide to Designing Your Own
Making a hoodie means turning soft, warm fabric into a wearable, hooded sweatshirt using a pattern, a sewing machine, and a few key components. You can sew one from scratch at home, redesign a blank hoodie, or order a fully customized hoodie from a printing service. This guide walks you through the entire process step by step, then shows you the easier ways to create a custom hoodie when sewing isn't your thing.
What Is a Hoodie?
A hoodie is a pullover or zip-up sweatshirt with an attached hood. It's usually made from cotton, fleece, or a cotton-polyester blend, and it's built for comfort, warmth, and casual style. Most hoodies include a few standard features:
- The hood — often lined and adjustable with a drawstring.
- The body — front and back panels made from soft, mid-weight fabric.
- Sleeves — long, with ribbed cuffs at the wrist.
- A kangaroo pocket — the front pouch (on pullover styles).
- Ribbed waistband and cuffs — stretchy trim that holds the shape.
Hoodies come in two main styles: pullover hoodies and zip-up hoodies. Both use the same core construction — the zip-up simply adds a front zipper instead of a solid panel.
What Do You Need to Make a Hoodie?
To sew a hoodie at home, you'll need a small set of materials and tools:
- Fabric — fleece, French terry, or a cotton-poly blend (about 2 to 2.5 yards for adult sizes).
- Ribbing — stretchy knit fabric for the cuffs and waistband.
- A hoodie pattern — printed, traced from an old hoodie, or a downloadable PDF pattern.
- A sewing machine — ideally one with a stretch or zigzag stitch; a serger helps but isn't required.
- Thread, pins, and fabric scissors or a rotary cutter.
- Measuring tape and tailor's chalk.
- Optional extras — a drawstring, metal eyelets, and a zipper (for zip-up styles).
How to Make a Hoodie Step by Step
Here's how to make a hoodie from start to finish. Work through the steps in order — each one builds on the last.
1. Choose Your Fabric
Pick a fabric based on how warm and stretchy you want the hoodie to be. Fleece is warm and beginner-friendly. French terry is lighter and softer inside. A cotton-polyester blend balances comfort with durability and holds prints well. Choose a fabric with a little stretch so the hoodie moves with the body, and buy ribbing in a matching color for the cuffs and waistband.
2. Take Accurate Measurements
Measure the person who will wear the hoodie before choosing a size. Record the chest, waist, hip, arm length, and back length. Compare these to your pattern's size chart. If you're between sizes, size up for a relaxed fit. Accurate measurements are the single biggest factor in how well the finished hoodie fits.
3. Choose or Create a Hoodie Pattern
A pattern is the template you'll use to cut each piece. You have three options: buy a printed sewing pattern, download a PDF pattern, or trace a hoodie you already own onto pattern paper. A standard hoodie pattern includes pieces for the front body, back body, two sleeves, two hood panels, the pocket, and the ribbing.
4. Cut the Fabric
Lay your fabric flat and pin the pattern pieces on top, following the grain line marked on the pattern. Cut carefully with sharp fabric scissors or a rotary cutter, and add a seam allowance (usually about ⅜ to ⅝ inch) if the pattern doesn't already include one. Transfer any notches or marks to the fabric with chalk so you know how the pieces line up.
5. Sew the Hoodie Body
Start with the shoulders. Place the front and back panels right sides together, then sew the shoulder seams. If you're adding a kangaroo pocket, attach it to the front panel before joining the sides. Use a stretch or zigzag stitch so the seams flex without popping.
6. Add the Sleeves
Lay the body flat and pin each sleeve into the armhole, matching the center of the sleeve to the shoulder seam. Sew the sleeve in place. Then sew each side seam and underarm seam in one continuous line, from the wrist down to the bottom of the body.
7. Make and Attach the Hood
Sew the two hood panels together along the curved back edge to form the hood. If you want a drawstring, hem the front edge of the hood and add eyelets now. Pin the hood around the neckline, right sides together, matching the center of the hood to the center back of the neck, and sew it in place.
8. Add the Cuffs and Waistband
Fold each ribbing cuff in half and sew it into a loop, then stretch it slightly as you attach it to the end of each sleeve. Do the same with the waistband along the bottom of the hoodie. The ribbing should be slightly smaller than the opening — that's what gives cuffs and hems their snug, stretchy finish.
9. Finish and Inspect Your Hoodie
Turn the hoodie right side out and check every seam. Trim loose threads, reinforce any weak stitches, and press the seams flat. Try it on to confirm the fit, then thread the drawstring through the hood if you added eyelets. Your handmade hoodie is done.
How to Make a Custom Hoodie
A custom hoodie is one you've personalized with your own colors, text, artwork, or logo. You don't have to sew it yourself — there are four common ways to create one, from most hands-on to fully done for you:
- DIY hoodie making — sew a hoodie from scratch (the steps above) and decorate it yourself with iron-on transfers, fabric paint, or heat-transfer vinyl.
- Using a hoodie maker — an online design tool lets you pick a blank hoodie, upload artwork, add text, and preview the result before ordering.
- Ordering custom print hoodies — you send your design to a print shop, and they print it on quality blanks for you.
- Using a custom hoodie printing service — a full-service option where a team helps with design, chooses the right printing method, and handles single pieces or bulk orders.
Most people who want a clean, durable result choose one of the last three options — they skip the sewing and get a professional finish. You can explore ready-to-customize custom hoodies to see how this works.
How to Customize a Sweatshirt
You can customize a sweatshirt or hoodie in the same ways, since both use similar fabric and construction. The most popular customization options are:
- Text — names, slogans, team numbers, or event dates.
- Logos — a business, club, or brand logo on the chest, back, or sleeve.
- Artwork — original illustrations, graphics, or hand-drawn designs.
- Photos — full-color images, ideal for memorials, family events, or gifts.
- Brand designs — coordinated colors, fonts, and placement for a consistent look.
The right customization depends on your design and how many pieces you need. Full-color photos and detailed artwork print best with DTF or DTG, while logos and simple text work well with screen printing or embroidery. You can apply the same choices to custom sweatshirts too.
How Do Custom Print Hoodies Work?
Custom print hoodies start with a blank hoodie and a design file, then move through a simple production process:
- You choose a hoodie style, color, and size.
- You upload or send your design — text, logo, artwork, or photo.
- The print shop selects the best printing method for your design and quantity.
- Your artwork is printed or embroidered onto the hoodie.
- The finished hoodie is checked, packed, and shipped to you.
This is the easiest route for anyone who wants a polished hoodie without buying fabric or learning to sew.
Best Ways to Print a Custom Hoodie
There are four main methods for decorating a hoodie. Each suits a different type of design, quantity, and budget.
DTF Printing
DTF (direct-to-film) printing transfers a design from a printed film onto the fabric using heat. It handles full-color, detailed artwork well and works on cotton, polyester, and blends. DTF is a strong all-round choice for small runs and multi-color designs. Learn more about DTF transfers.
DTG Printing
DTG (direct-to-garment) printing works like an inkjet printer for fabric, applying ink directly into the material. It's great for photo-quality prints and highly detailed designs, especially on cotton hoodies. DTG shines for single pieces and small quantities with lots of color.
Screen Printing
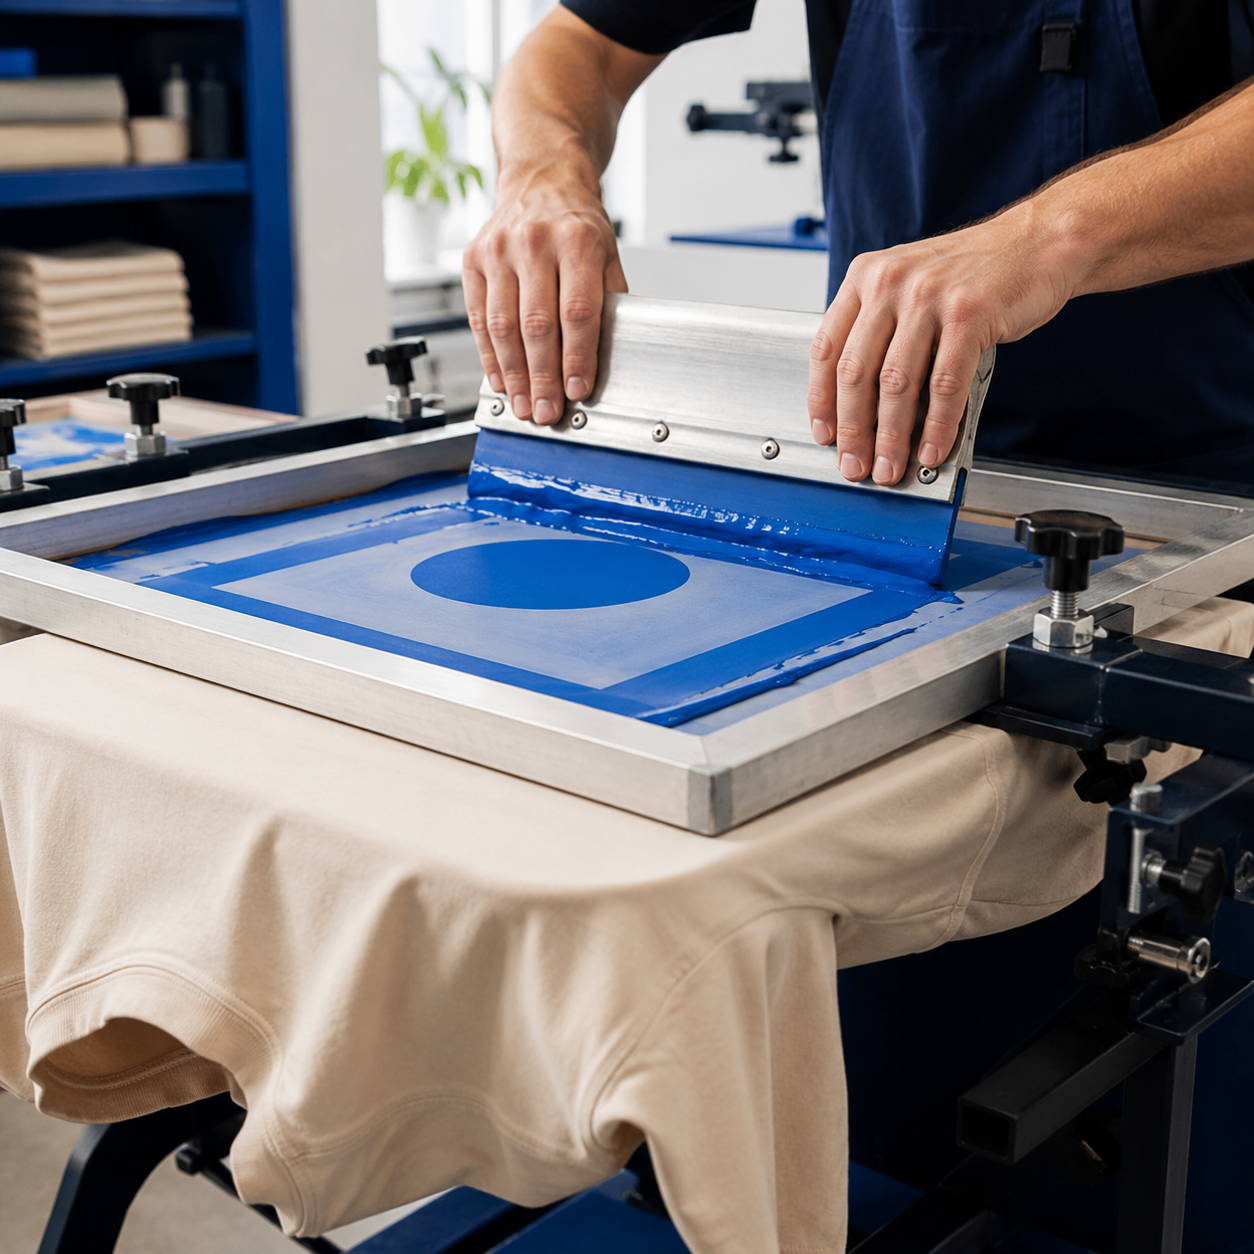
Screen printing pushes ink through a stencil (screen), one color at a time. It produces bold, long-lasting prints and becomes very cost-effective for larger quantities, making it ideal for teams, events, and bulk orders with simple, limited-color designs. See screen printing.
Embroidery
Embroidery stitches your design into the fabric with thread instead of ink. It gives a premium, textured, and highly durable finish that's popular for logos, monograms, and business branding. Embroidery works best for text and simple logos rather than detailed photos. Explore embroidery.
DIY Hoodie vs Using a Hoodie Maker
Should you sew a hoodie yourself or use a hoodie maker? It depends on your time, skill, and how you want the finished product to look. Here's a side-by-side comparison:
| Factor | DIY Hoodie Making | Using a Hoodie Maker |
|---|---|---|
| Skill needed | Sewing experience required | No skill needed |
| Time | Several hours to days | Minutes to design and order |
| Finish quality | Depends on your skill | Consistent, professional |
| Best for | One-off creative projects | Branding, teams, gifts, bulk |
| Printing options | Limited (iron-on, vinyl, paint) | DTF, DTG, screen print, embroidery |
In short: choose DIY if you enjoy the craft and want a hands-on project. Choose a hoodie maker or printing service if you want a clean, repeatable result — especially for logos, teams, or multiple pieces.
How to Choose a Custom Hoodie Maker
When picking a custom hoodie maker or sweatshirt maker, look at these key factors:
- Printing methods offered — make sure they support the method your design needs (DTF, DTG, screen printing, or embroidery).
- Blank quality — the hoodie itself matters as much as the print. Look for comfortable, durable fabric.
- Design support — a helpful service will review your artwork and flag any issues before printing.
- Order flexibility — can they handle a single piece and larger bulk orders?
- Color and size range — more options mean a better match for your project.
- Clear communication — proofs, timelines, and responsive support reduce surprises.
Why Choose Custom Hoodies for Businesses, Teams and Events?
Custom hoodies are practical, comfortable, and highly visible — which makes them useful far beyond personal style. Here's how different groups use them:
- Individuals — personalized gifts, matching couples' or family hoodies, or a one-of-a-kind design.
- Businesses — branded staff uniforms and promotional wear that build brand recognition.
- Teams — matching hoodies with player names, numbers, and team logos.
- Schools & clubs — spirit wear, class hoodies, and club merch.
- Events — hoodies for fundraisers, reunions, conferences, and festivals.
- Brands & creators — merch that fans actually want to wear.
Create Your Own Custom Hoodie With TeePrintUSA
If you'd rather skip the sewing and get a professionally finished hoodie, TeePrintUSA is a US-based custom apparel printing service. You choose a hoodie, add your text, logo, artwork, or photo, and the team prints it using the method that best fits your design — DTF, DTG, screen printing, or embroidery. It's a straightforward way to create custom print hoodies for yourself, your business, your team, or your event, whether you need one piece or many.
Ready to design your custom hoodie?
Bring your idea and we'll handle the printing.
Design Your HoodieFrequently Asked Questions
Can I make a hoodie at home?
Yes, you can make a hoodie at home with fabric, a pattern, a sewing machine, and basic sewing skills. Cut out the body, sleeves, hood, and ribbing, then sew them together following a hoodie pattern. It takes time and practice, but it's a rewarding DIY project.
What is the easiest way to make a hoodie?
The easiest way to make a hoodie is to customize a blank one instead of sewing from scratch. Use an online hoodie maker or a custom printing service to add your design, and skip fabric cutting and sewing entirely. You get a professional result in a fraction of the time.
How can I make my own custom hoodie?
To make your own custom hoodie, choose a hoodie style and color, then add your text, logo, artwork, or photo. You can decorate a blank hoodie yourself with heat-transfer vinyl, or send your design to a printing service that applies it using DTF, DTG, screen printing, or embroidery.
What is the best printing method for hoodies?
The best printing method depends on your design and quantity. DTF and DTG suit detailed, full-color artwork and small runs. Screen printing is best for bold designs and larger quantities. Embroidery gives a premium, durable finish for logos and text.
How much does it cost to make a custom hoodie?
The cost of a custom hoodie varies with the hoodie quality, printing method, number of colors, design complexity, and quantity ordered. Bulk orders usually cost less per piece than single items. For an accurate figure, request a quote from your chosen hoodie maker or printing service.
Can I put my own logo on a hoodie?
Yes, you can put your own logo on a hoodie. Upload your logo file to a hoodie maker or send it to a printing service, and they'll print or embroider it in your chosen placement. High-resolution logo files produce the cleanest results.
What is the difference between a hoodie maker and a hoodie printing service?
A hoodie maker is usually an online design tool that lets you create and preview a custom hoodie yourself. A hoodie printing service handles the full process — helping with design, choosing the right print method, and producing single or bulk orders. Many providers offer both.